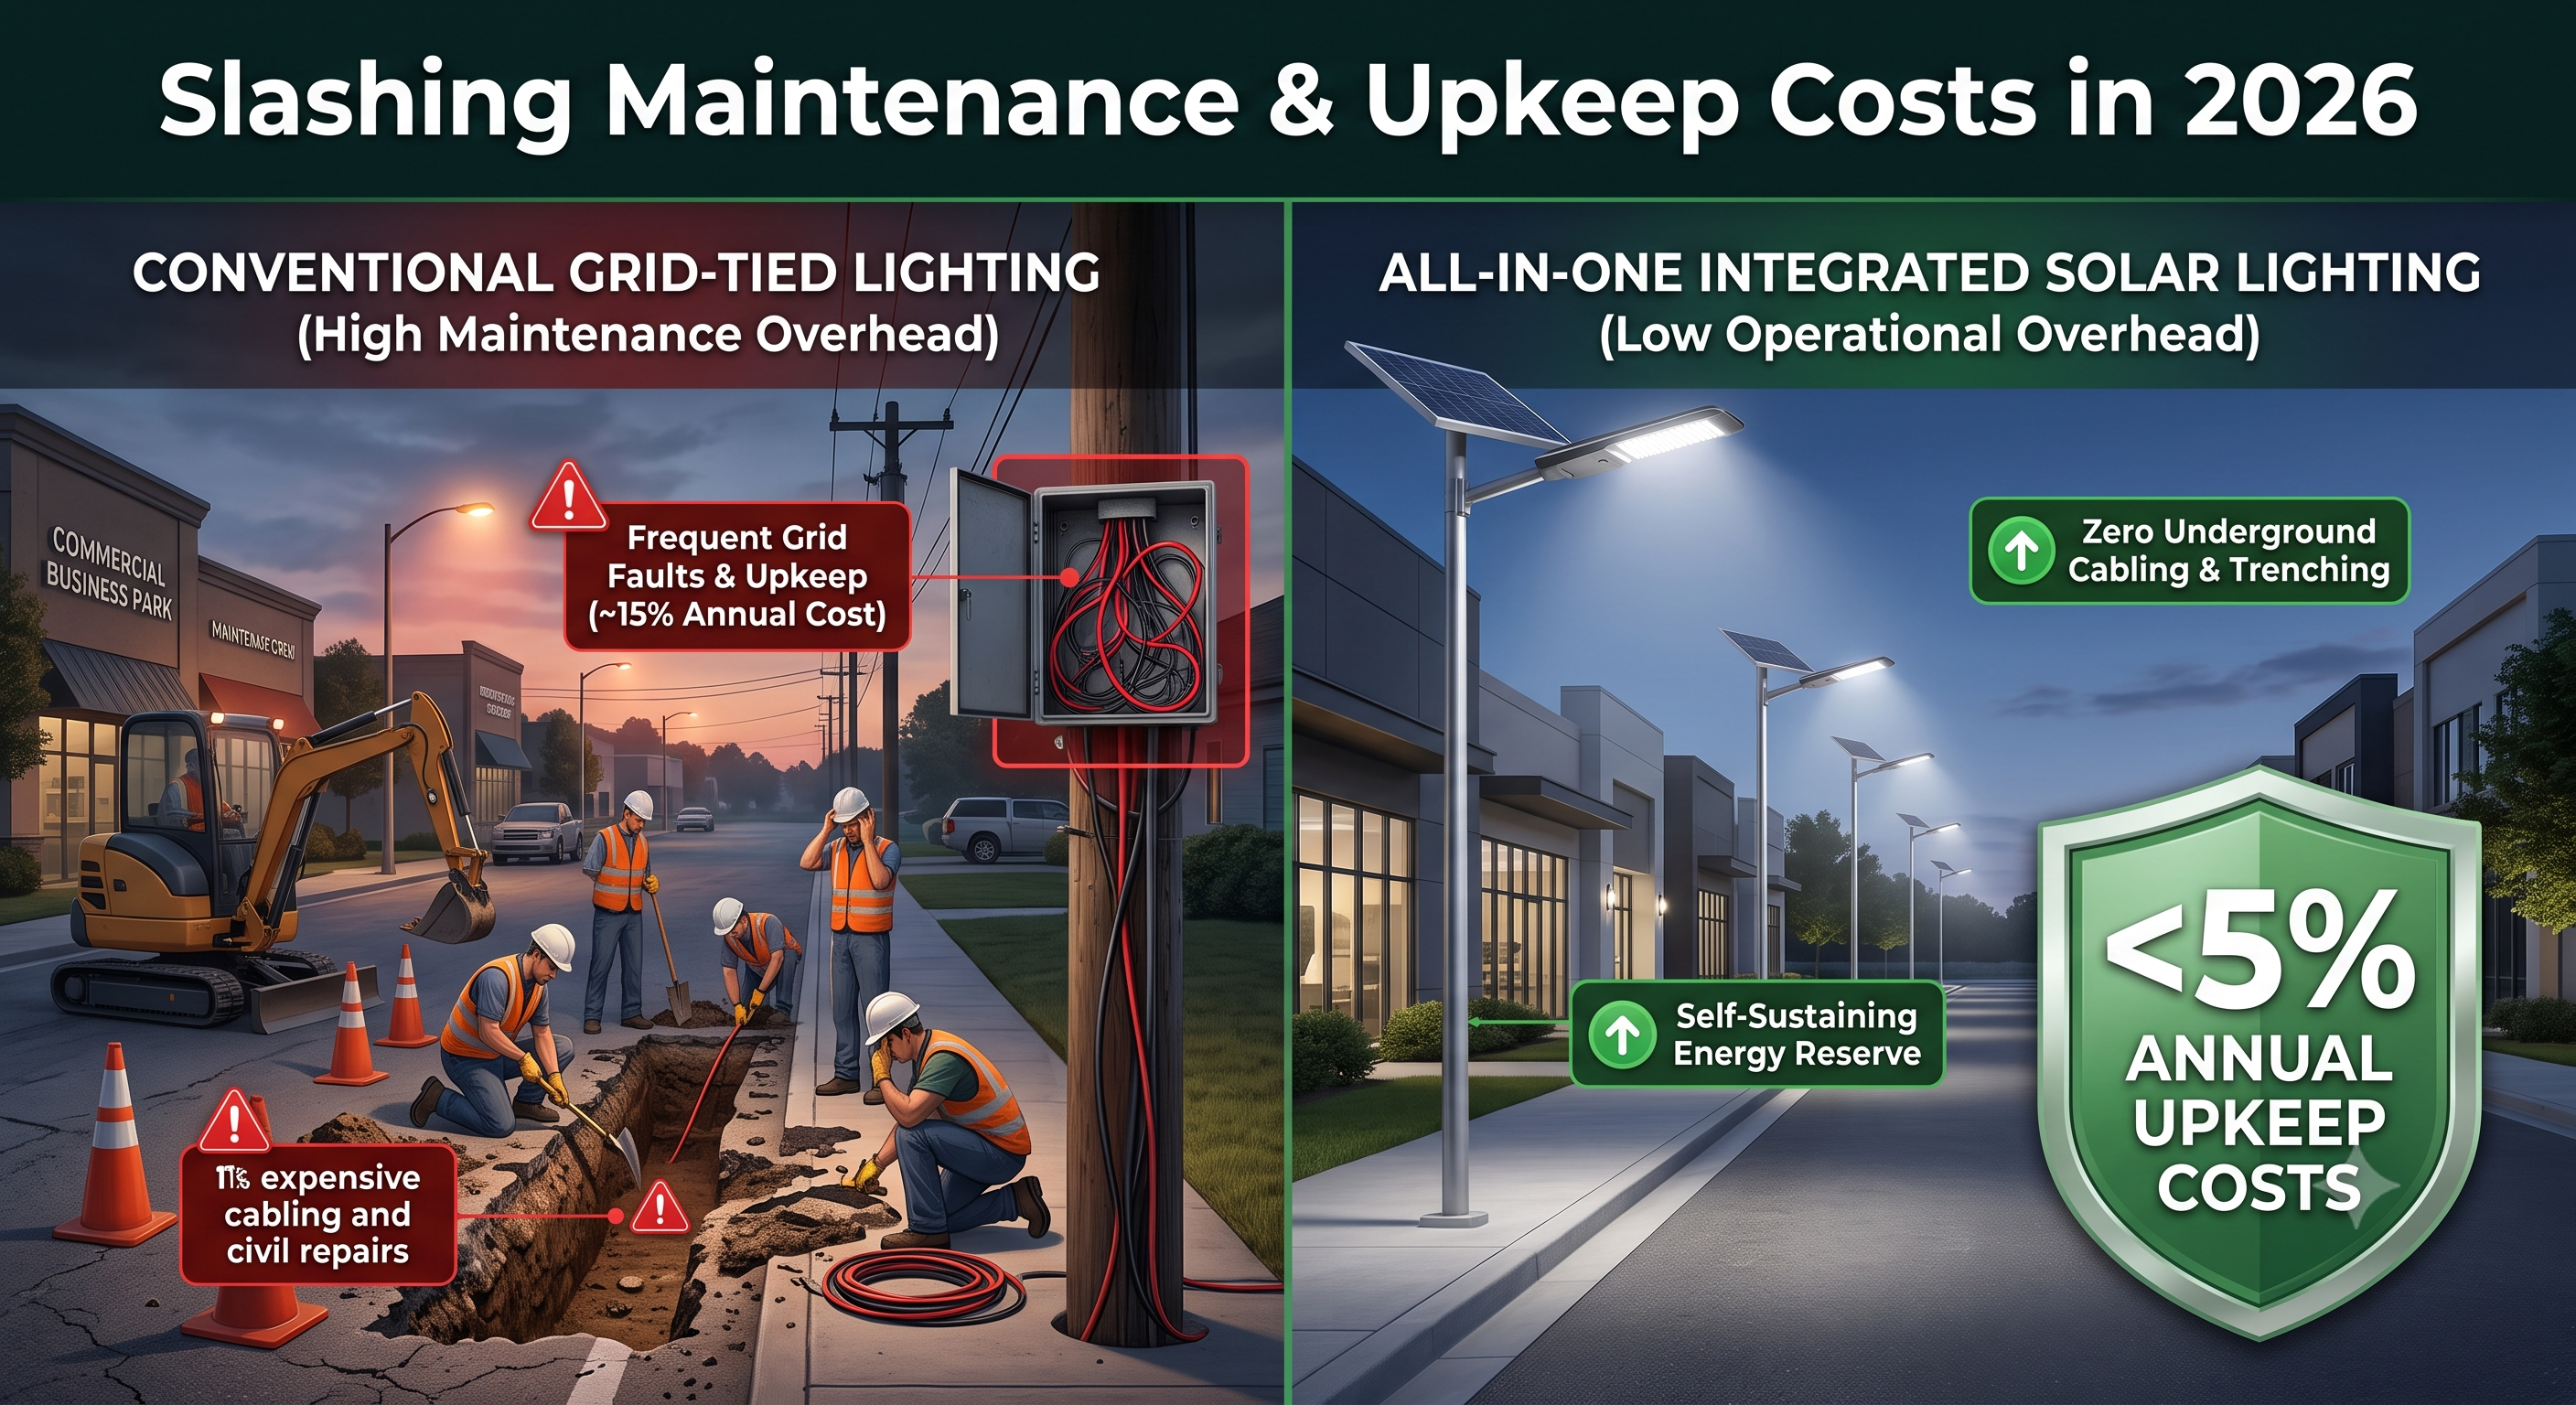
How to Install a Solar Street Light: Step by Step
Shinesun's editorial team writes about solar lighting based on our manufacturing, installation, and field-service experience across India.
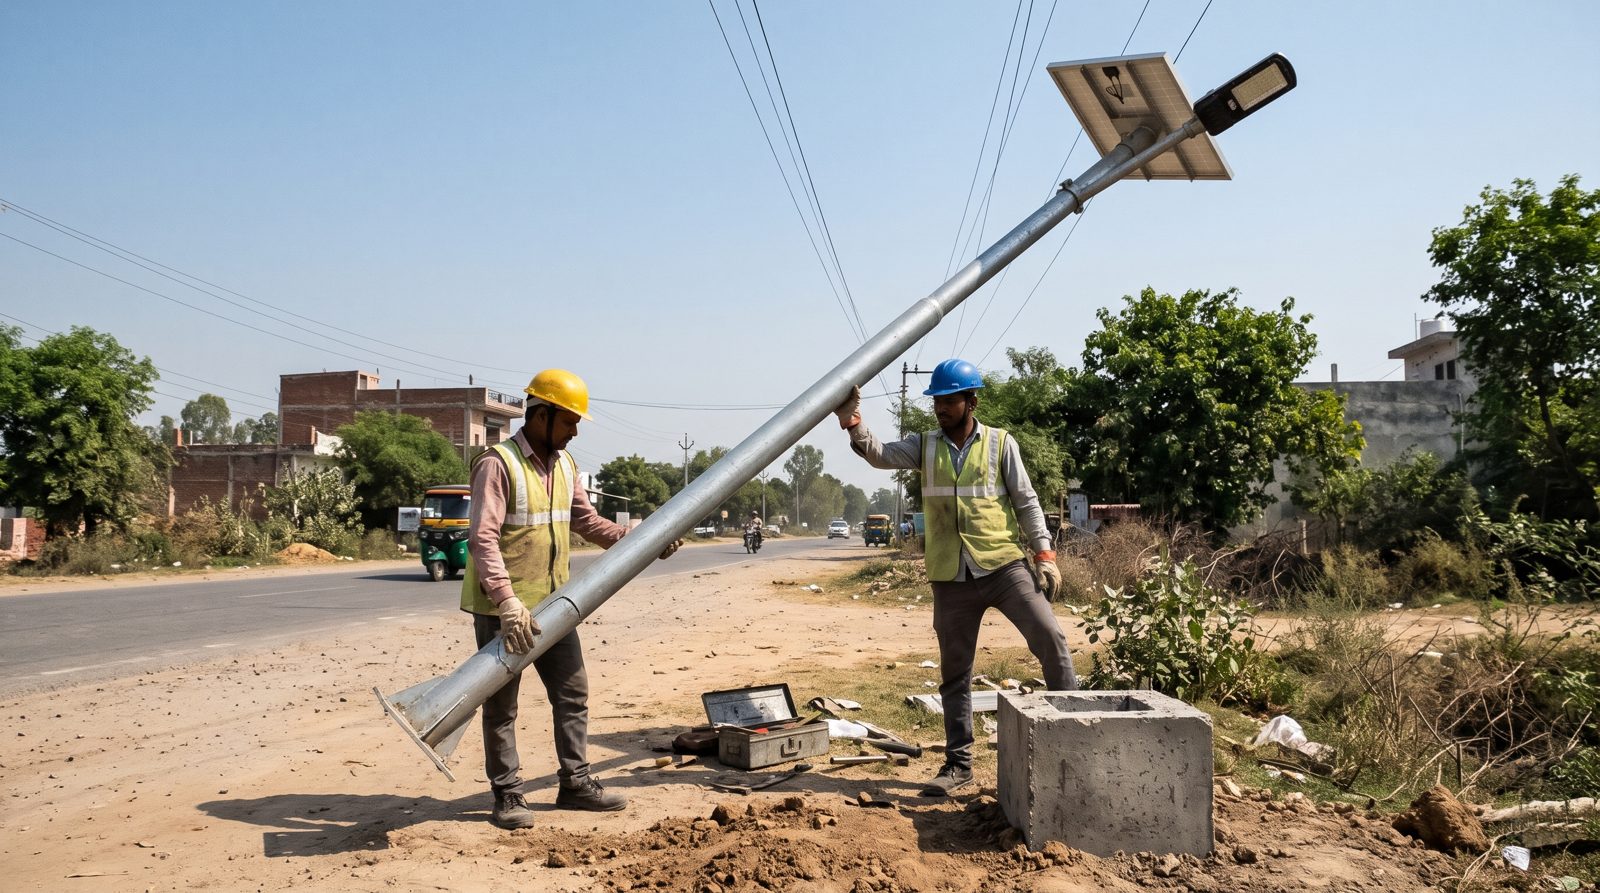
How to install a solar street light, in short: survey for sun, set 5 m poles 12 to 15 m apart on proper foundations, and face each panel south. Then give the fixture a full day's charge before its first night, with no trenching or grid connection needed.
This is the step-by-step sequence for a single pole or a short run of them. For the wider picture across solar lights of every type, see our general guide to installing solar lights.
Before you start
Installing a street light means working at height with a heavy pole, so plan the lift and keep the area clear of people. Check for overhead power lines before choosing any position, and find out what runs underground before digging. Poles, foundations and installation are quoted separately for each site, and we can quote the whole job if you prefer.
How to install a solar street light, step by step
1. Survey the site and check the sun
Walk the area around midday and mark where each pole could stand. At every spot, look up: the panel needs direct sun across the middle hours of the day, with no trees, walls or roofs in the way.
Then think about winter. The sun sits lower from November to January, and its shadows stretch further, so check what lies to the south of each spot. Allow for trees that are still growing, too.
2. Choose the pole height
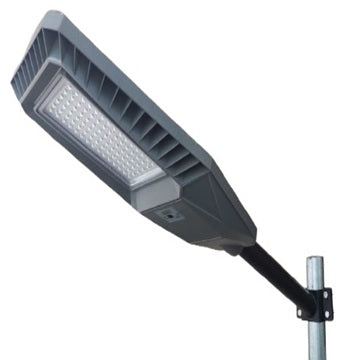
Our street lights are made to mount at 5 m. At that height the beam covers a road or compound without hot spots, and the fixture sits beyond casual reach. The Bat 150W is the exception, mounting at 6 to 7 m to suit wider roads.
A taller pole than the fixture is built for gains no useful coverage, because the same light lands on a wider, dimmer patch. The reasoning is in street light pole height.
3. Set the spacing
Allow roughly three times the mounting height between poles. At 5 m that means 12 to 15 m apart, and about 15 m for the Bat 150W at its greater height. Wider gaps leave dim stretches that the eye notices at once.
| Fixture | Output | Mounting height | Pole spacing | Price |
|---|---|---|---|---|
| Bat 40W | 1,600 lm | 5 m | 12–15 m | Rs. 7,550 |
| Bat 75W | 2,760 lm | 5 m | 12–15 m | Rs. 9,999 |
| Bat 90W | 3,129 lm | 5 m | 12–15 m | Rs. 11,999 |
| Bat 150W | 6,000 lm | 6–7 m | 15 m | Rs. 16,499 |
To work out the number of poles for a road or compound, see how many solar street lights you need. Mark each final position with a peg before any digging starts.
4. Build the foundation
A 5 m pole carrying a panel catches a lot of wind, so the foundation decides whether it stays upright. It is usually a concrete block with anchor bolts cast in to match the pole's base plate. Its size depends on the soil, the pole and the wind at that site.
Give the concrete its full curing time before it takes the pole's weight. A pole raised onto green concrete can lean, and a leaning pole tips the panel away from the sun. We size and quote the foundation along with the pole.
5. Prepare the fixture on the ground
Unpack the fixture and check every part against the packing list before going up. Fit whatever the manual allows at ground level, such as the bracket, because every task done on the ground is one less done on a ladder.
Follow the manual for that model for any connection or switch-on step. Do not guess at wiring on an integrated fixture.
6. Raise the pole
Lift the pole with a crane, a hydraulic lift or a chain pulley and enough hands to guide it. Lower it onto the anchor bolts, check it is plumb from two sides, and tighten the nuts evenly. Never raise a pole anywhere near overhead lines.
7. Mount the fixture and face the panel south
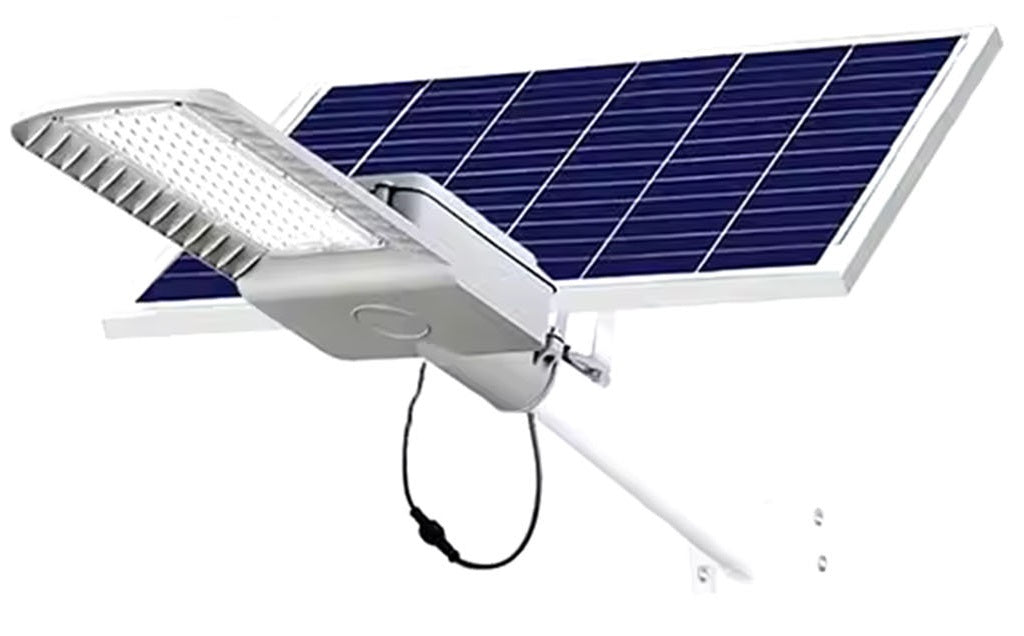
Fix the light head so it points along the road or across the area to be lit. Then set the panel so it faces south, the direction that gathers the most energy over a year in India. A panel turned to match the line of the road can lose much of its charge.
Set the panel's tilt as the bracket and the manual direct, rather than to a figure from another product. More on orientation in solar panel direction in India.
8. Keep stray light away from the panel
The fixture uses its panel to tell night from day. A porch light, shop sign or floodlight falling on that panel can fool it into staying off after sunset. Check the panel's surroundings after dark before calling the job done.
9. Give it a full first charge
Leave a new fixture to soak up one clear day of sun before it has to run a night. The battery then starts its working life full, and the first nights show how the light really performs.
10. Check it over the first nights
Watch the light at dusk to see it come on by itself, and check again late at night and before dawn. A light that fades early on a sunny week usually points to shade or stray light on the panel.
On a motion-sensing fixture such as the Owl 100W, walk past it. It should sit at a low glow and brighten fully as you approach.
11. Hand over
Give the owner a record of every pole: its number, position, fixture model, date installed and warranty end date. Bat fixtures come with a 2 year warranty. Agree who will clean the panels and walk the route after dark each month.
After installation
Wipe the panels down ahead of the rains and again once they end, as a dusty panel is the usual reason a light starts fading early. Once a year, check that brackets are tight, the pole is still plumb and no branch has crept into the panel's light. Our guide to maintenance of solar lights covers the routine.
The battery in every street light we make is LiFePO4, rated for 8 to 12 years of service. It is thermally stable to about 60°C, which suits a pole-top housing in an Indian summer, and it carries a low fire risk. For keeping lights safe on their poles, see preventing solar street light theft.
Frequently asked questions
How high should a solar street light pole be?
Our street lights mount at 5 m, which lights a road or compound evenly. The Bat 150W mounts at 6 to 7 m for wider roads. A taller pole spreads the light over a wider, dimmer patch.
What spacing should solar street lights have?
Roughly three times the mounting height: 12 to 15 m apart for a 5 m pole, and about 15 m for the Bat 150W. Wider gaps leave dark patches between the lights.
Which direction should a solar street light panel face?
South. In India that orientation gathers the most energy across the year. Keep it clear of shade at midday, including winter shade from trees and buildings when the sun is lower.
Does a solar street light need a foundation?
Yes. A 5 m pole carrying a panel catches a lot of wind, so it needs a concrete base designed for the local soil and wind. We quote poles, foundations and installation for each site.
Should a new solar street light be charged before use?
Yes. Leave it to charge through one clear, sunny day, so it goes into its first night with a full battery. Then check it at dusk, late at night and before dawn over the first few nights.
Talk to the people who build them
Shinesun manufactures solar street, flood, garden, pathway and gate lighting in Bangalore and supplies across India. Everything is quoted against the site rather than sold from a cart, because the right fixture depends on where it is mounted and what the ground is used for. Browse the street light range or tell us about the site.
Shinesun Solar Street Lights
See the full range ›
Related reading
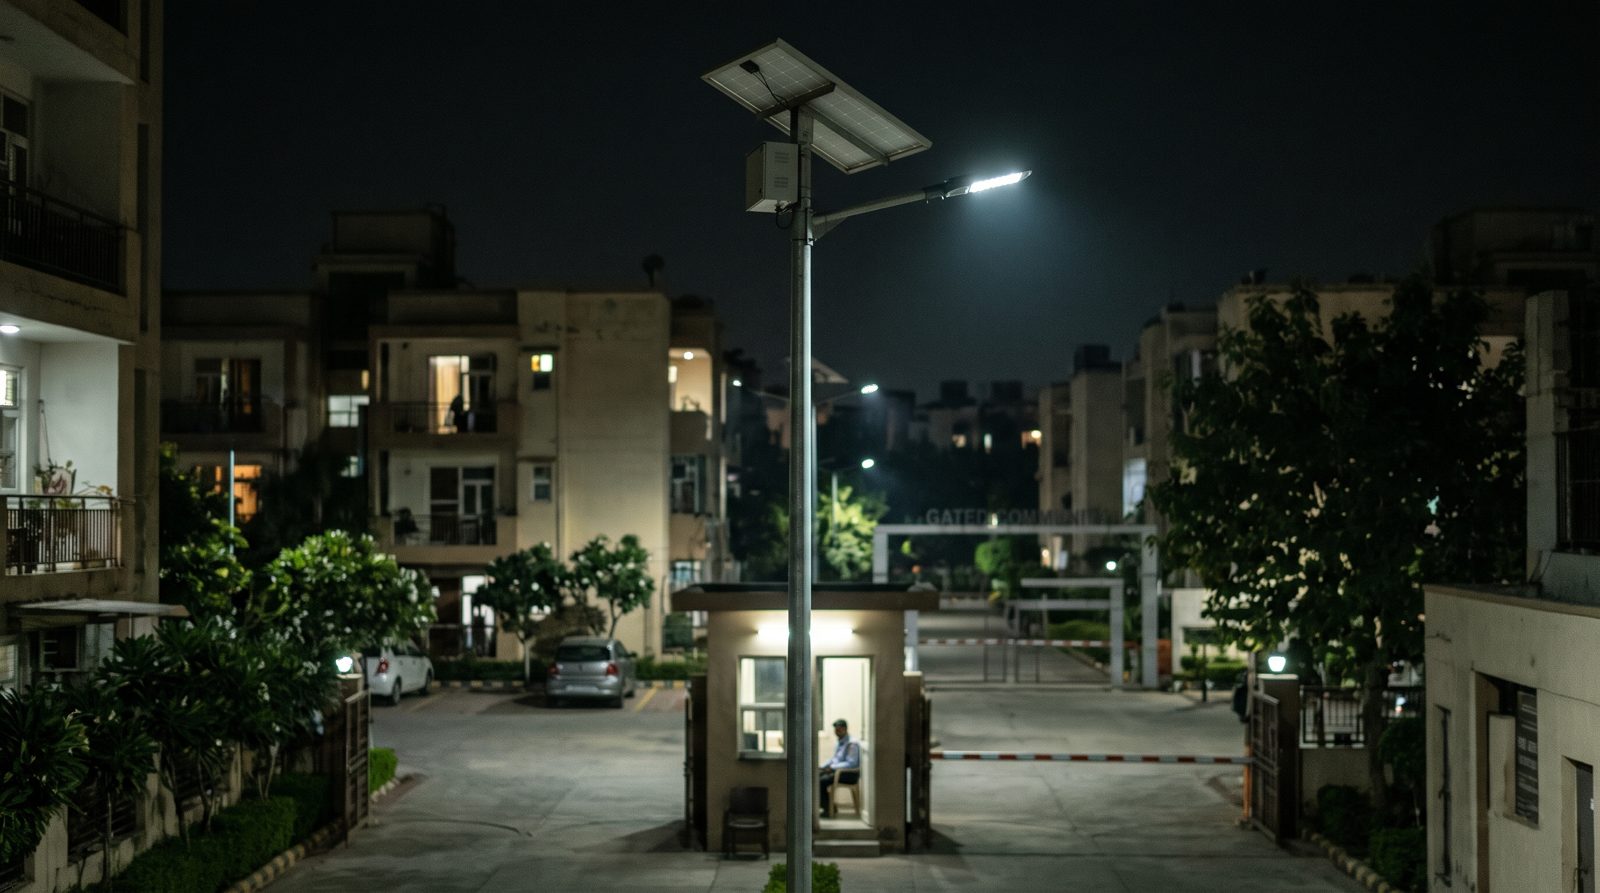
Solar Street Light Theft: How to Protect Your Lights
Most solar street light theft targets parts within easy reach, above all a battery box at the foot of the pole. How design, mounting height, siting an...
Read more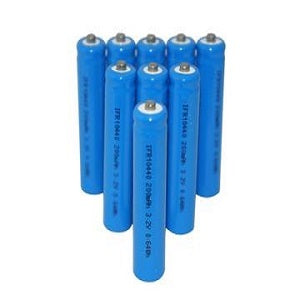
LiFePO4 vs Lithium-Ion in Solar Street Lights: Which and Why
LiFePO4 and lithium-ion get used as if one were simply the better version of the other. They are different chemistries with different jobs, and the ri...
Read more